Customizing Markdown with Animated Cards
Markdown is great for writing content, but sometimes you want it to pop. In this post, we’ll explore how to wrap your markdown elements in custom animated cards to create a stunning reading experience.
1. Typography Cards
Let’s start with simple text. By wrapping text in our AnimatedCard component, we can give it a distinct look and feel.
The Paper Effect
This card mimics a hand-drawn paper look. It’s perfect for notes, quotes, or highlighting important concepts.
- Hand-drawn border
- Drop shadow
- Clean typography
The Neon Effect
For a more modern, cyberpunk aesthetic, we can use the “Neon” variant.
“The future is already here – it’s just not evenly distributed.”
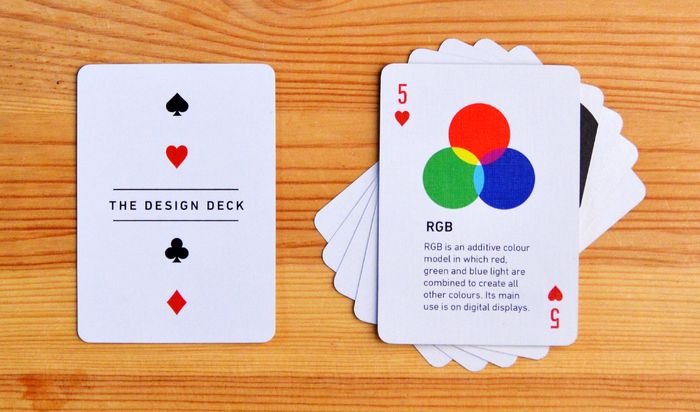
2. Image Cards
Images often need context. Wrapping them in a card allows you to add captions and style them together.

Figure 1: An example of a glassmorphism card holding an image.
3. Emoji & Icon Cards
Big, bold emojis can serve as excellent visual anchors.
Launch
Design
Magic
4. Diagram Cards
Mermaid diagrams and flowcharts look professional when framed properly.
Project Workflow
5. Math & Equations
For educational content, framing equations helps focus the reader’s attention.
The Quadratic Formula
This formula provides the solution(s) to a quadratic equation.
6. Code Blocks
Even code snippets can benefit from a container, especially for “tips” or “tricks”.
Pro Tip: Use the AnimatedCard component to wrap any content!
<AnimatedCard animation="zoom-in" variant="neon">
  # Hello World
  This is an animated card!
</AnimatedCard>
7. Card Gallery
Here are some examples of how you can use different card styles to showcase a collection of images.


How It Works
The AnimatedCard component uses the Intersection Observer API to detect when the element enters the viewport. It then toggles a CSS class to trigger the animation.
Here’s a peek at the logic:
const observer = new IntersectionObserver((entries) => {
  entries.forEach(entry => {
    if (entry.isIntersecting) {
      entry.target.classList.add('is-visible');
    }
  });
});
By combining this with CSS transitions and transforms, we get smooth, performant animations that enhance the user experience without slowing down the page.