Mastering Image Optimizations in Astro (Part 1)
Images are a crucial part of any blog, but they can also be the biggest bottleneck for performance. Astro’s built-in <Image /> component handles optimization out of the box, but what if we want to add some flair?
In this post, we’ll explore how to use our custom OptimizedImage component to add hand-drawn styles, shapes, and animations to your images directly in Markdown.
1. The Basics
First, let’s look at a standard optimized image. It’s responsive and lazy-loaded by default.
2. Hand-Drawn Style
To fit our “Active Whiteboard” aesthetic, we can add a style="hand-drawn" prop. This adds a sketchy border and a subtle shadow.
3. Shapes
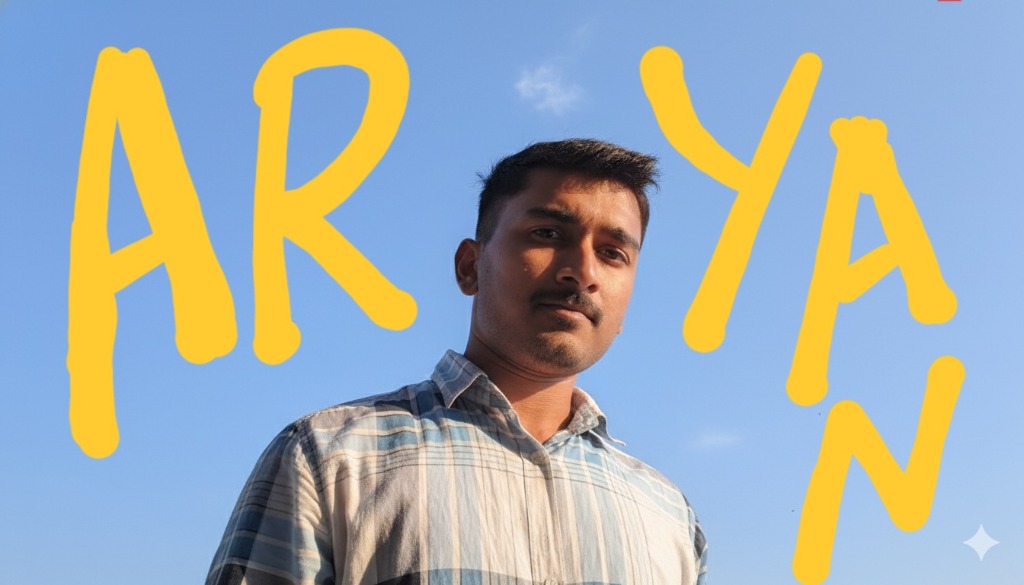
We can also change the shape of the image. This is great for avatars or profile pictures.
Circle
Square
4. Animations
Bring your content to life with entrance animations.
Fade In
Slide Up
Zoom In
Usage
To use this in your own posts, simply use the component like this (no import needed!):
<OptimizedImage
  src="/path/to/image.jpg"
  alt="Description"
  width={500}
  height={300}
  style="hand-drawn"
  shape="rectangle"
  animation="fade-in"
  caption="Your caption here"
/>
Stay tuned for Part 2 where we explore advanced styles and 3D effects!